


How to Ferment Pickles at Home Using a Handmade Ceramic Fermentation Jar
Are you tired of the same old store-bought pickles that just don’t have that authentic crunch? Want to learn how to make crunchy homemade pickles that taste incredible and look beautiful too? Well, you’re in luck! Today, we’re diving into the world of easy homemade pickle recipes using your very own handmade ceramic fermentation jar. Get ready to pickle like a pro and impress everyone with your briny, flavorful creations.
What You'll Need to Make Homemade Pickles
Before we get started, gather your ingredients and tools. Here's what you'll need to ferment pickles at home:
-
Fresh cucumbers (small ones are best)
-
Fresh dill
-
Garlic cloves
-
Sea salt
-
Water
-
Your trusty handmade ceramic fermentation jar
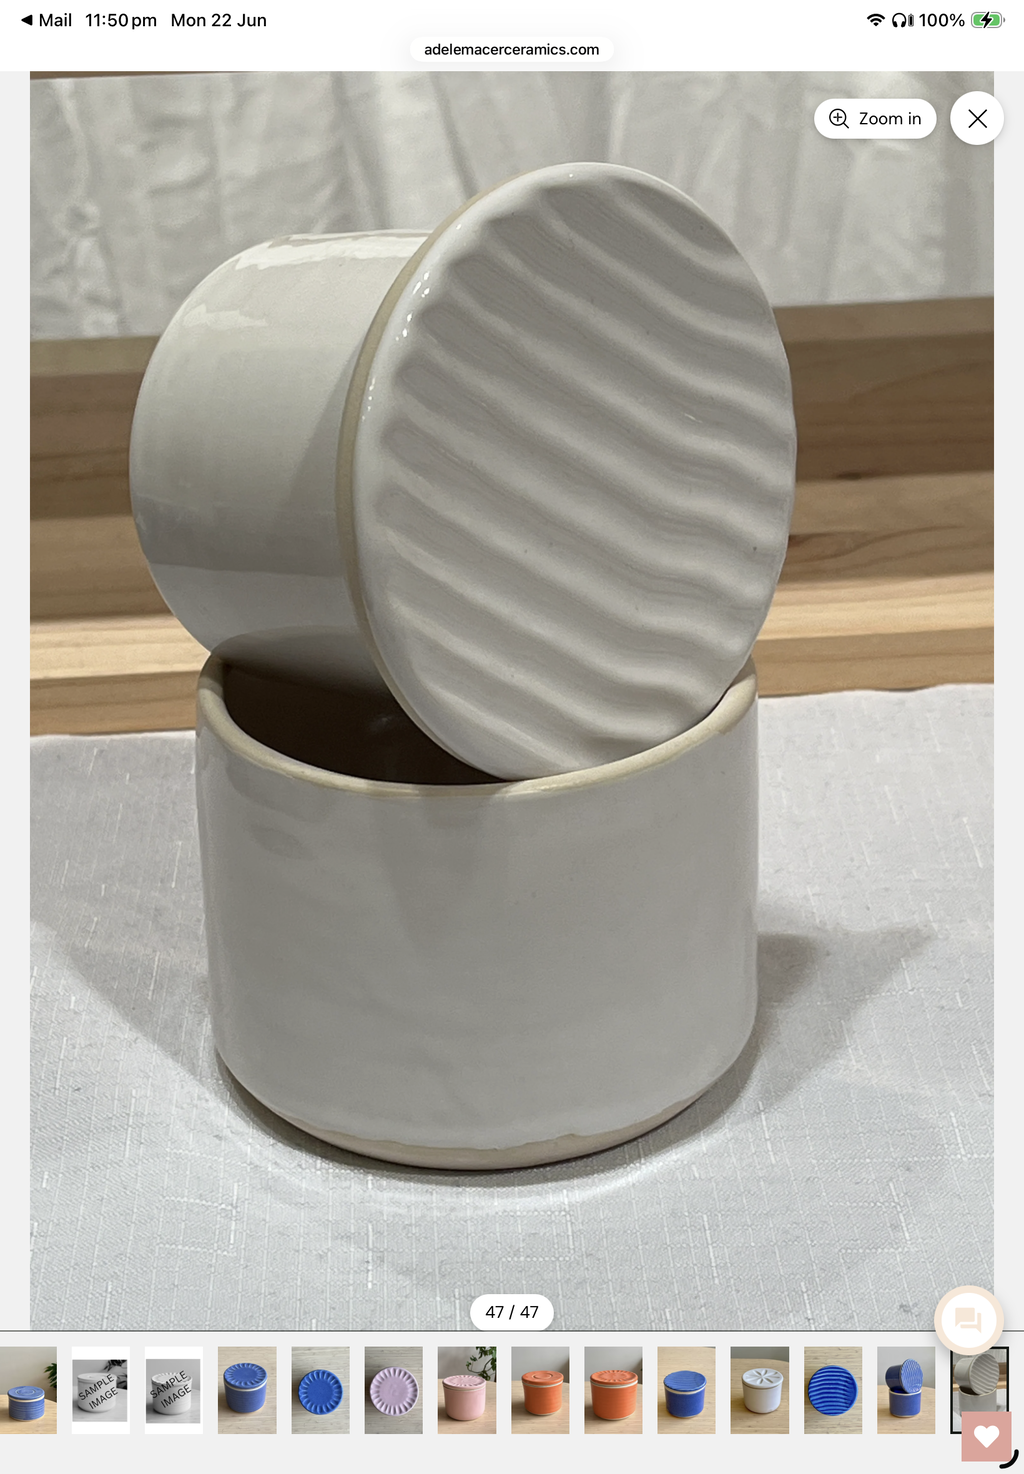
If you don't yet have a ceramic pickling jar for fermentation, don’t worry! You can always use a regular glass jar, or check out my handmade fermentation jars [HERE].
How to Ferment Pickles Step-by-Step
1. Prep Your Cucumbers
Wash your cucumbers thoroughly and slice them into spears or rounds—whatever you prefer! Then, pack them tightly into your ceramic pickling jar. If you have fermentation weights, pop them on top to make sure the cucumbers stay submerged under the brine (this prevents spoilage).
For an extra burst of flavor, layer your cucumbers with fresh dill and crushed garlic cloves. In the video tutorial, I kept it simple using only the brine for flavor, but you can customize it however you like!
2. Make Your Fermentation Brine
In a separate container, mix sea salt into water until fully dissolved. This salty brine is the key to creating delicious, tangy pickles through natural fermentation.
Pour the brine over your cucumbers, ensuring everything stays completely submerged.
3. Seal and Start Fermenting
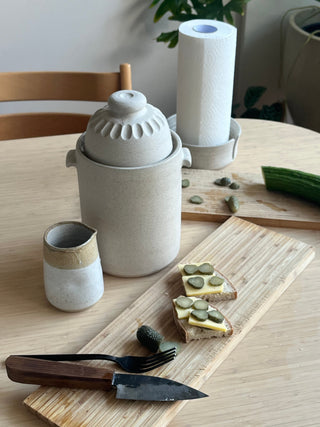
If you're using a handmade ceramic fermentation jar, seal it with water in the rim (creating a natural airlock). Place the jar on your kitchen bench—out of direct sunlight—and burp the jar every few days by slightly lifting the lid to release gas buildup.
Using a glass fermentation jar? Place it somewhere cool and dark, like a pantry. Either way, let your pickles ferment at room temperature (between 18–24°C) for best results.
How Long Does It Take to Ferment Pickles?
Fermenting your pickles will take anywhere from 5 to 10 days, depending on how sour and flavorful you want them. Taste them every few days to find your perfect level of tang. Remember: the longer they ferment, the stronger the flavor!
The Best Part—Enjoy Your Homemade Pickles!
Once your pickles taste just right, transfer them to clean glass jars with tight-fitting lids and store them in the fridge. Your fermented homemade pickles can last for several months when kept chilled.
Congratulations—you’ve just mastered how to ferment pickles in a handmade ceramic jar!
Easy Homemade Pickle Recipe for Ceramic Fermentation Jars
Ingredients:
-
6–8 small cucumbers (4–5 inches long)
-
2 cups filtered water
-
2 tablespoons sea salt
-
2 cloves garlic, peeled and lightly crushed
-
1 tablespoon dill seeds or a few sprigs of fresh dill
-
1 teaspoon black peppercorns
-
1 bay leaf
-
(Optional) A few grape leaves to keep pickles extra crisp
Instructions:
-
Prepare the Brine:
Dissolve the sea salt in filtered water completely. -
Pack the Jar:
Place garlic, dill, peppercorns, bay leaf, and grape leaves (optional) at the bottom of your handmade ceramic fermentation jar. Pack in your cucumbers tightly, leaving about 2–4 cm of headspace. -
Pour the Brine:
Cover the cucumbers fully with your salty brine and place a fermentation weight on top. -
Seal and Ferment:
Seal the jar, add water to the rim to activate the airlock if using a ceramic pickling crock, and place it somewhere with a stable temperature between 18–24°C. Burp the jar every 1–3 days. -
Taste and Wait:
Let the pickles ferment for 5–10 days, depending on your taste preference. -
Store:
Once ready, move the pickles into a clean glass jar with a lid and refrigerate.
Enjoy the rich, tangy flavor of homemade fermented pickles—crafted with care in your beautiful, artisan ceramic fermentation jar. Whether you're a first-time fermenter or a seasoned pickling enthusiast, using a handmade jar makes the process easier, prettier, and way more satisfying.
Happy pickling!