


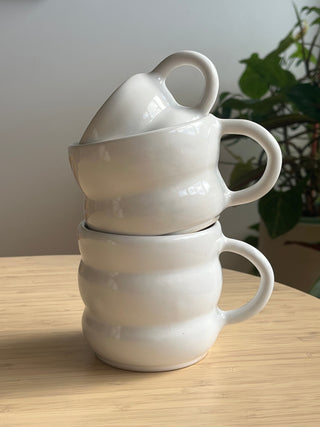


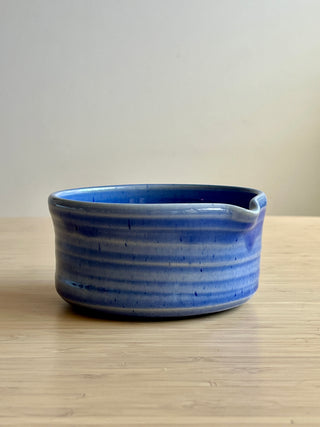


Not as big as I had thought but still in love. Great for a small coffee, maybe a great way for me to cut back on the amount I drink
Hi Janna, we're so glad you love your mug! It's perfect for a cozy small coffee. Thanks for sharing your thoughts!
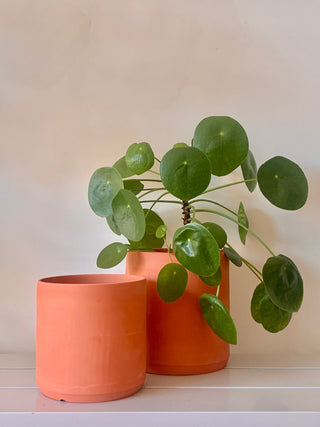
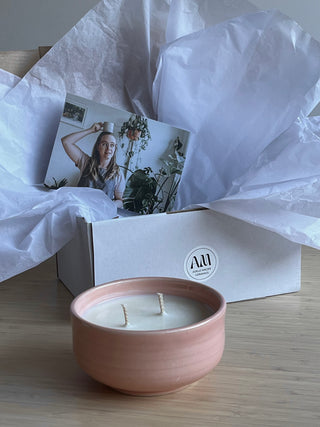
This is a gift but is absolutely gorgeous
Hi Janna, we're thrilled to hear you found the utensil holder gorgeous! We hope your gift recipient loves it too. Thank you for sharing your kind words!
The course was very, very good - Adele has deep knowledge of her craft, the course was well organised and informative. I learnt things that will definitely help me in the future. I can highly recommend this course !!!
Marina Pinter
Hi Marina, thank you so much for your wonderful review! We're thrilled to hear you enjoyed the course and found it valuable. We hope to see you again soon at Adele Macer Ceramics!
Adele is a fantastic pottery teacher who is knowledgeable, patient, and makes every class fun. She explains techniques clearly, encourages creativity, and creates a welcoming atmosphere for everyone. I’ve learned so much and looked forward to my next course. Highly recommended!

Hi there! Thank you so much for your kind words. We're thrilled to hear you enjoyed the workshop and found Adele's teaching inspiring. Can't wait to see what you create next!
Adele was such a fabulous teacher, funny, quirky and man does she know her stuff! Her demonstrations were great, we all got plenty of time to practice centering, making bases stable and trimming! She gave handy advice to improve my beginner skills and by the end of it, I was very proud to say I can actually use my clay dishes and cups with pride 😀 So much fun, cheers Lindy
Hi Lindy! We're so happy to hear you enjoyed the workshop and Adele's teaching. It sounds like you made great progress and had a wonderful time. Thanks for sharing your experience!