


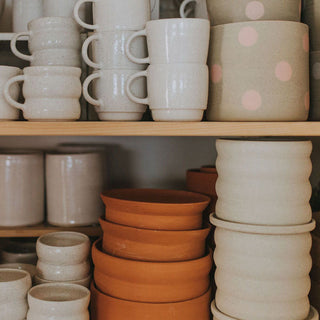


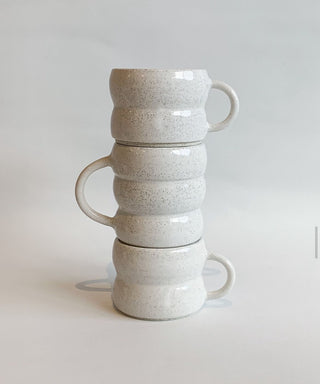
 There has been a lot of questions around mug handles lately so I thought I’d share what works for me. Below is my set up for handling mugs. I bought $1.20 terra-cotta pot from the garden store (it works great as a chuck on the wheel too!)
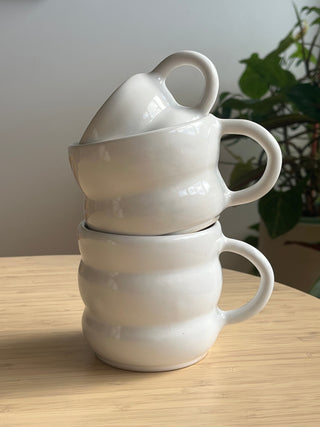
I have popped my mug on top of the pot to keep the mug from warping as I’m handling it. If I need to pick up the mug to get a better angle, I sometimes pick up the terra-cotta pot as well.

My handles are extruded with a caulking gun before I start trimming my mugs then I set them up over a rolling pin to reach leather-hard. This gives the perfect curve and shape for about 2-3 fingers width to hold the mug with. 
After trimming about 25 mugs, the handles aare firm enough to attach. I scratch both ends of the mug and where they join to the pot with a serrated metal rib, then I add some slip with vinegar and clay to join and press firmly on while the mug is on the terra-cotta pot.
Then I roll a very thin coil to wrap around the joins and I blend with a wooden modeling tool. You can see coils laying on the sponge in the back - this keeps them moist while I’m working.

Once I have blended the join, I smooth it over with my sponge and then paint some cold wax around the entire handle and the join.
Sometimes I add green food dye to my cold wax so I can see where it has been applied. I then give one last spray of water over the entire mug and then leave to dry upside down, uncovered.
here I am using cone 6 white clay, and will fire to 1220°c, (cone 6) in an oxidation fire.
